How to Winterize an Irrigation System
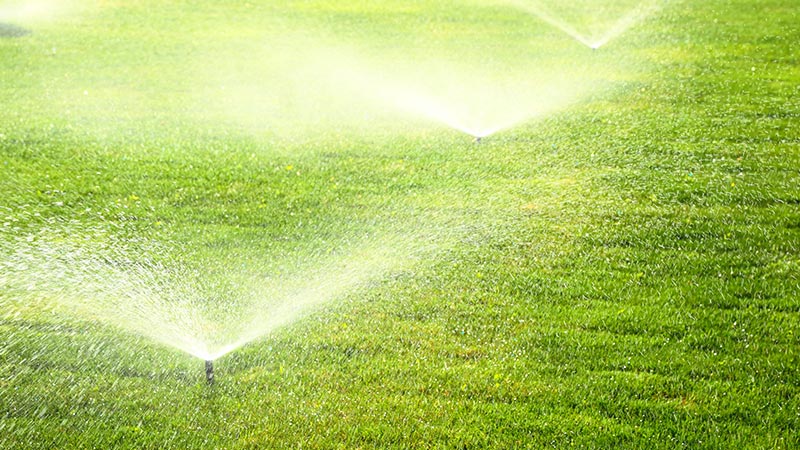
Thanks to the modern irrigation system, homeowners across the country can achieve lush fertile lawns and beautiful gardens no matter how much rain they receive. Irrigation systems have been used for thousands of years but the modern irrigation system is a complex system of pipes, valves, and other components that need proper maintenance and care to perform at their best.
One of the most critical parts of irrigation system maintenance is winterizing your system before freezing temperatures creep into your neighborhood. For many, winterizing a sprinkler system is just another chore but if it’s your first winter with an irrigation system you have to take the right steps to keep everything in working order.
Let’s learn how to winterize an irrigation system including what you can do yourself, when you should hire a professional, and everything else you need to keep your sprinklers running healthy over winter.
Why You Should Winterize Your Irrigation System
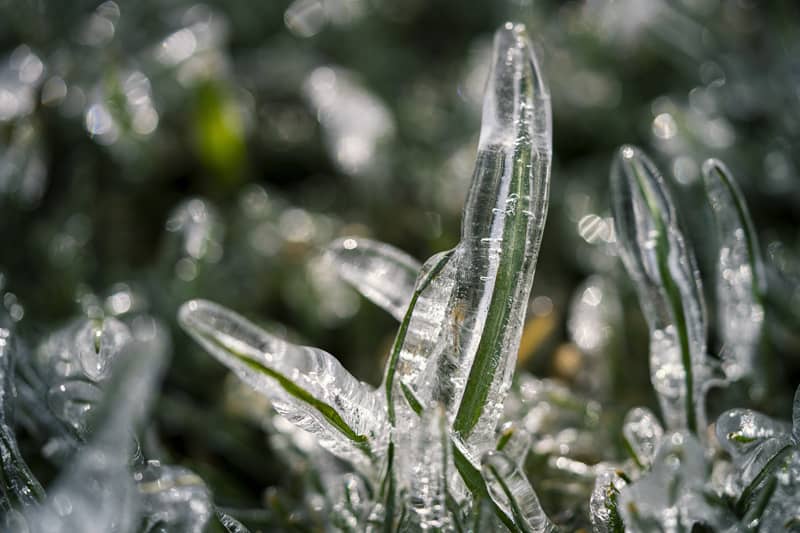
What’s the point in winterizing your irrigation system? To save it from freezing temperatures. The freezing and thawing of winter will cause any leftover moisture in your sprinkler system’s pipes to expand and contract, which could cause big damage in cracked pipes. Winterizing your system pulls all water out to avoid any freeze-caused damage.
How to Winterize Irrigation System
Note: Your irrigation system’s user manual is your best friend during winterization. Not all systems work the same and the procedure for winterizing may differ from system to system. Perform winterization at your own risk.
- Step 1: Shut off Plumbing
To avoid any more water into the system shut off the main valve to your sprinkler system.
- Step 2: Shut off the System
Your next task is to shut down your entire system for the season. You can unplug your master control but that will reset all programs and watering schedules. Because most homeowners don’t want to re-program, they set their systems to ‘rain mode,’ which keeps the system active but shuts down all signals to pipes and valves.
Always double-check your owners’ manual to be certain your system doesn’t need extra steps like shutting off pumps.
- Step 3: Protect Above Ground Components
Above ground components of your system include the main shut off valve and any above ground pipes. Use insulating tape and plastic bags to keep your shut off valve and other components warm through the winter.
Warning: While the above steps are easily accomplished by any homeowner, the actual blowout or line drain is tedious and can be dangerous. Older systems might not be able to handle compressed air without breaking. It’s always recommended to let an irrigation service take care of the final blowout of lines to avoid any issues. If DIY is the way you’re going, use eye protection and the following steps.
- Step 4: Draining the System
Manual Drain to Winterize Sprinkler System – If you have manual valves at the low end of your system you can drain the system manually. Open all manual drains and let them empty excess water before closing the drains again.
Automatic Drain to Winterize Sprinkler System – If your system has automatic valves you can take care of excess water by activating your automatic drain. Run one sprinkler head to blowout excess pressure and the automatic drain will take care of the rest.
- Step 5: Sprinkler Blowout
The sprinkler blowout is the process of using compressed air to clear your lines of all remaining water. Both manual and automatic drains will empty most but not all water. To blowout your lines:
- Rent a commercial air compressor. ‘Shop’ compressors don’t have the power to clear lines.
- Connect the air compressor to your irrigation’s main line.
- Turn on the air compressor up to 60 PSI. Never exceed 80 PSI or you can risk permanent damage to your lines.
- Close any backflow valves.
- Slowly activate the air compressor to begin the blowout.
- Keep the air running until the sprinkler heads no longer spray any water.
- You will likely have to move zone to zone to blowout all water.
- Once you’re done, make sure all excess pressure is released from your system before sealing for the season.
When to Winterize Sprinkler System
You must winterize your irrigation before the freezing and thawing of winter wreak damage on your system. Technically you should winterize your system before the frost level reaches your pipes, but most homeowners have no idea how deep frost is getting into the soil. Instead of monitoring frost, you should winterize your system before the first hard freeze (four consecutive hours below 28 degrees.)
Hiring a Professional to Winterize Your Sprinkler System
While many sprinkler systems can be winterized by the homeowner, there are many possible missteps that could end up costing your hundreds and even thousands in repairs come springtime. Luckily, there are many landscaping and irrigation companies that specialize in winterization. You might get lucky and find a landscaper willing to walk you through how to winterize an irrigation system, if they have experience with your unique set up.
Hire a professional to shut off all valves, double-check components, and use an industrial air compressor to clear your lines in no time. Most landscape and irrigation systems charge close to $100 to winterize your irrigation system so you can avoid both breaking the bank and making a mistake by hiring a professional.
A Winterized Irrigation System is a Happy System
You can take the time to winterize your sprinkler system, but it’s recommended to avoid injury and damage by hiring a professional. No matter if you go DIY or hire a professional always watch the weather for the first hard freeze and be sure your sprinklers are winterized and ready.